First look – Moto G5S Plus
Let’s get started.
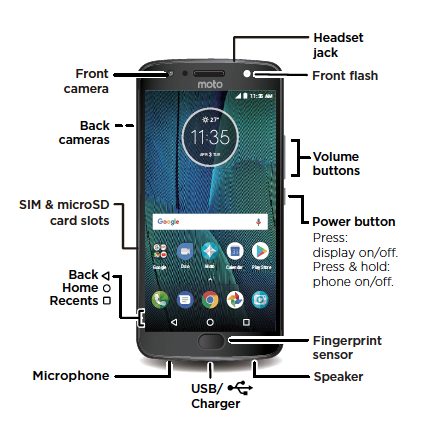
We’ll guide you through startup and tell you a bit about your phone’s features.
Note: software updates happen frequently, so your phone may look a little different.
Tips & tricks
Start: insert the SIM card or cards in your phone and charge up. Then power on and follow the screen prompts to set up your phone.
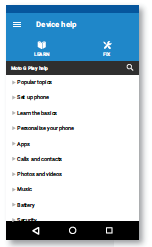
Help: all your questions about your new phone answered right on your phone. Watch a tutorial. Read a how-to. Find out anything about your phone.
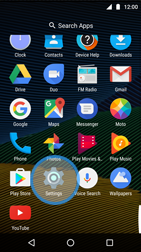
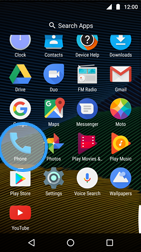
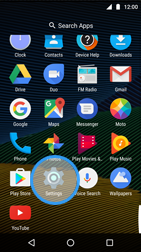
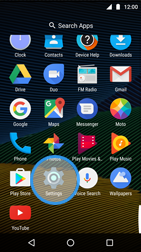
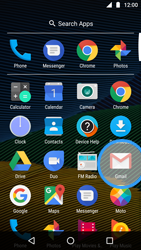
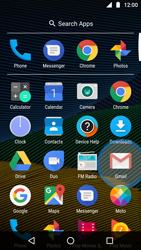
Find it: Swipe up and open the app ? Device Help.
Note: certain apps and features may not be available in all countries.
Start
Put in the cards
Your phone might support using two SIM cards. To insert your Nano SIM card(s) or an optional microSD memory card, follow these instructions.
Caution: make sure you use the correct size SIM card and don’t cut the SIM card. Don’t use tools to remove the battery – doing so may damage your phone.

Power on
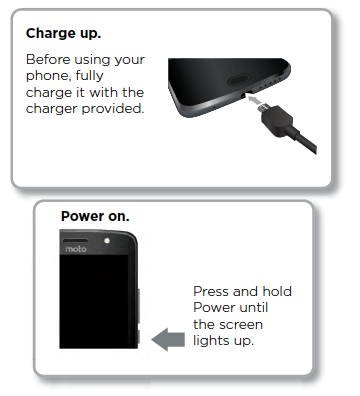
Charge your phone fully and turn the power on. Then select your language and follow the screen prompts to get started.
Accessibility Options
Android devices offer exceptional built-in accessibility options and third-party accessibility applications. RAZ Mobility has an extensive section dedicated to accessibility. Read more >>>
Sign in
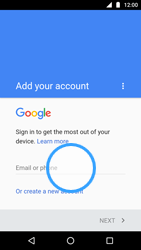
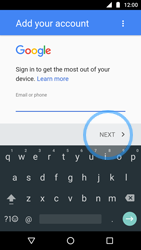
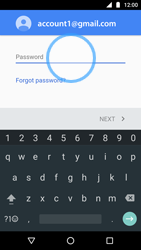
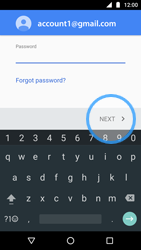
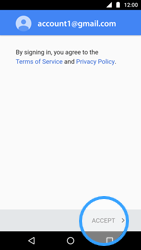
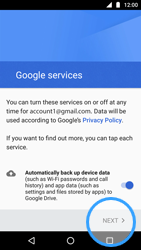
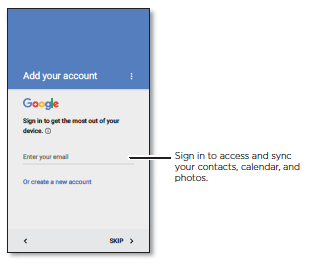
After you power on, just follow the screen prompts to get started.
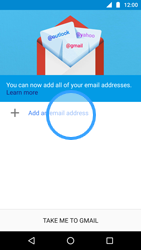
If you use Gmail™, you already have a Google™ account – if not, you can create an account during setup. Signing in to your Google account lets you access, sync and back up your stuff. See your Google apps, contacts, calendar, photos and more.
Tips and tricks
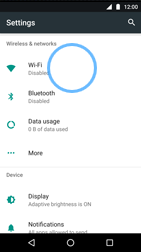
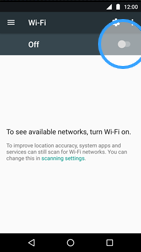
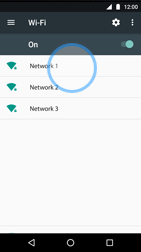
Wi-Fi network: for faster Internet access or to conserve mobile data use, swipe the status bar down with two fingers, then tap > Wi-Fi.
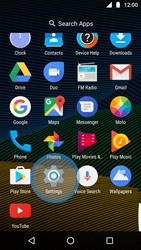
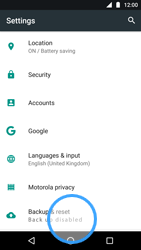
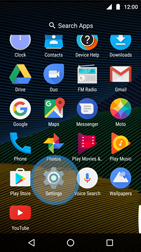
Accounts: to add, edit or delete accounts, swipe up > Settings > Accounts. To set up email accounts, see “Email”.
For help with your Google account, visit www.google.com/accounts.
Note: this phone supports apps and services that may use a lot of data, so make sure your data plan meets your needs. Contact your service provider for details.
Quick start: Home screen & apps
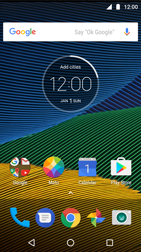
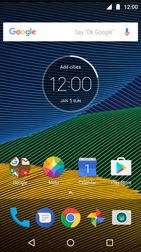
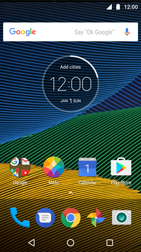
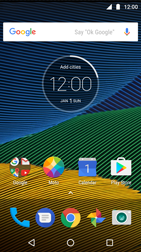
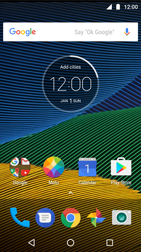
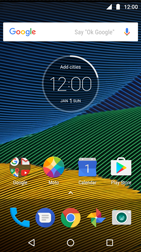
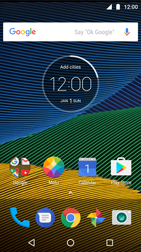
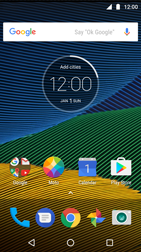
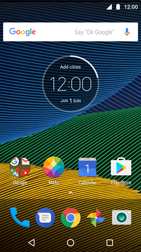
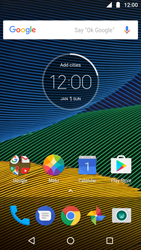
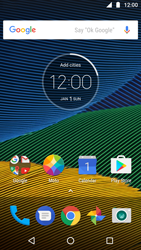
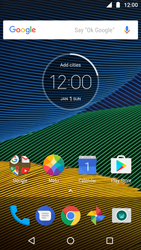
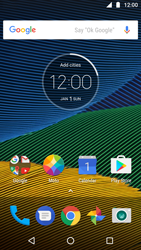
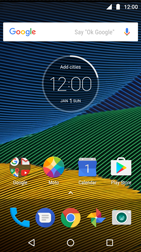
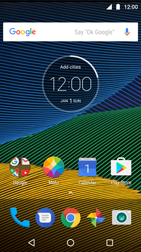
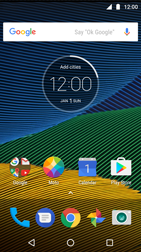
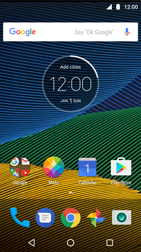
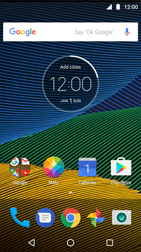
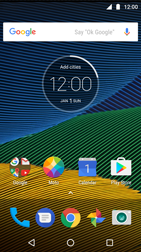
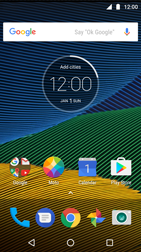
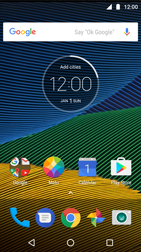
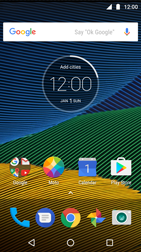
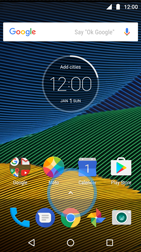
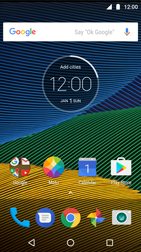
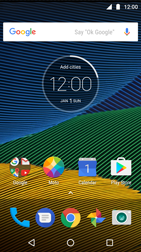
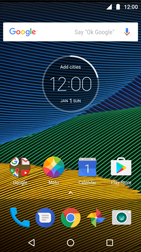
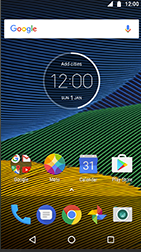
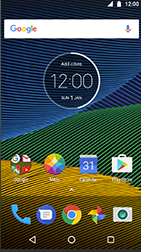
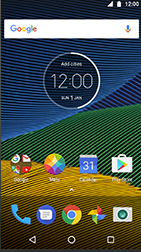
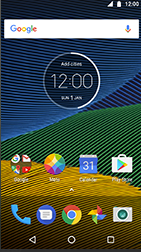
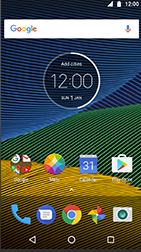
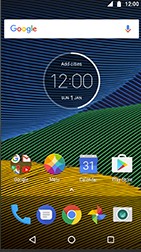
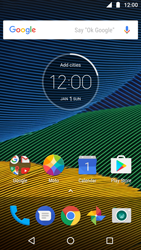
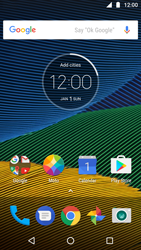
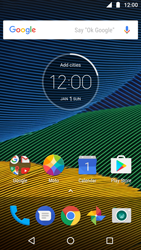
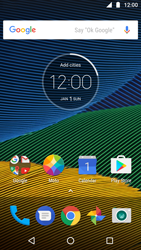
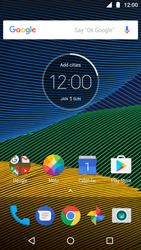
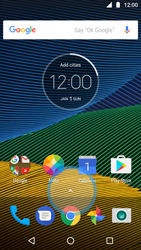
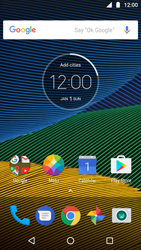
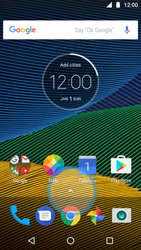
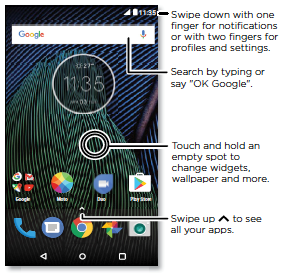
The Home screen is what you see when you turn on your phone. From here you can explore apps and more.
Note: software updates happen frequently, so your screen may look a little different.
Tips and tricks
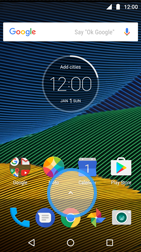
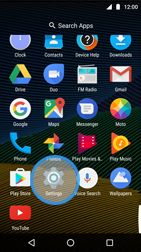
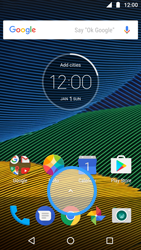
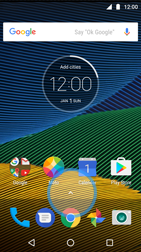
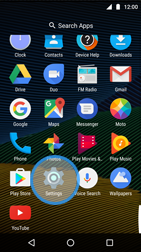
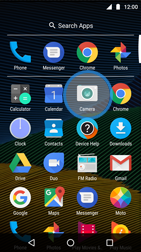
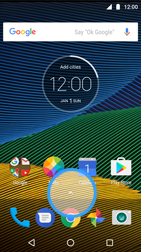
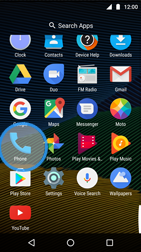
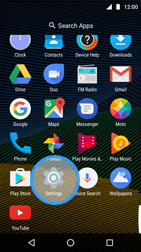
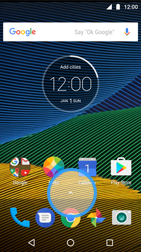
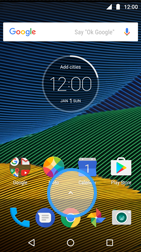
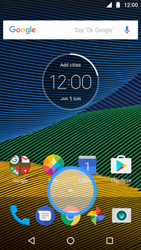
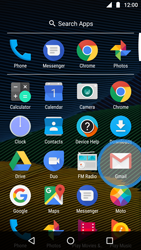
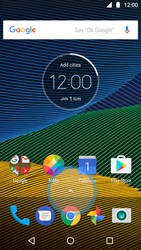
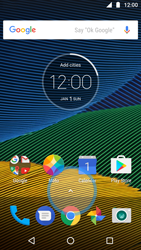
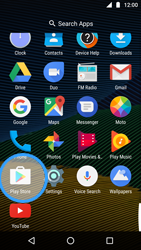
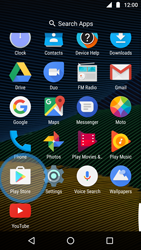
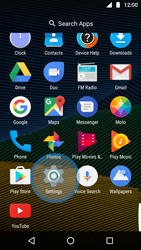
Open app list: swipe up, then swipe up to scroll through apps.
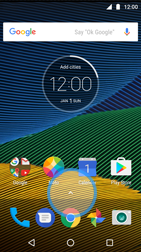
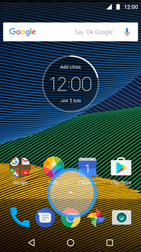
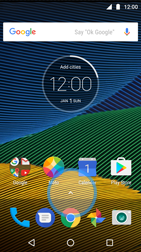
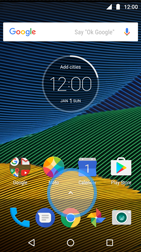
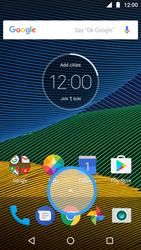
Return: to return to the Home screen from any location, tap Home. If One-button nav is turned on, tap the fingerprint sensor to return Home.
Pages: to add a page, drag an app to the right side of the screen until you see a white bar. You can add multiple pages. To see other pages of shortcuts and widgets (if available), swipe the Home screen left.
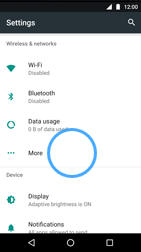
Settings: to quickly open common settings, swipe the status bar down with two fingers. To open more settings, tap.
Shortcuts: swipe up, touch and hold an app, then drag it to one of your Home screen pages. To see all your apps, swipe up.
Apps: to remove an app from a Home screen page, touch and hold the app, then drag it to Remove. (The app isn’t removed from your phone, just the Home screen.)
To uninstall apps from your Home screen, touch and hold the app, then drag it to Uninstall. (You can’t uninstall some apps.)
Status & notifications
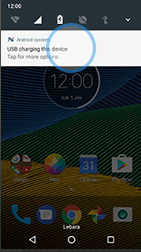
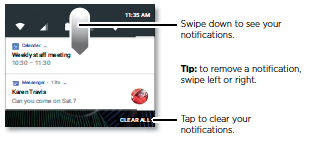
At the top of the screen, icons on the left notify you about new messages or events. If you don’t know what an icon means, swipe the status bar down for details.
Tip: getting too many notifications? Touch and hold a notification to see which app is sending them to you. Then you can turn them off.
Icons at the top right of the screen tell you about phone status:
Control with one touch
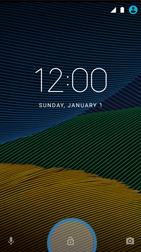
Lock and unlock your phone, navigate your phone and more with just one touch.
Find it: 
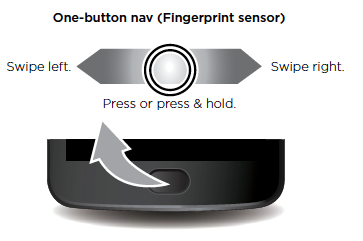
Activating One-button nav will remove the Back 


To navigate using the fingerprint sensor, use these gestures:
- Home: tap quickly on the fingerprint sensor to go to your Home screen.
- Back: swipe right to left on the sensor to go back to the previous screen.
- Recents: swipe left to right on the sensor to view recent apps.
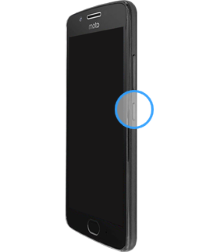
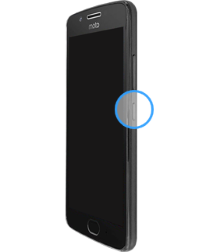
- Lock: press the sensor until you feel a short vibration and then release to lock the screen.
- Google: touch and hold the sensor until you feel a longer vibration to activate the Google Assistant.
SD Card
Insert SD Card
Whether its images, music, videos or applications we know that the most important stuff on people’s phones is stored in the user memory. The Moto G (5th Gen.) allows you to expand your memory by using a micro SD card.
To insert a memory card:
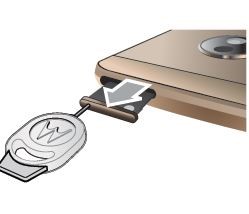
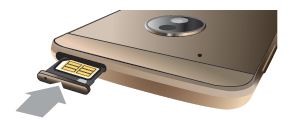
1. With the phone facing down, insert the SIM tool into the tray hole to pop out the tray.
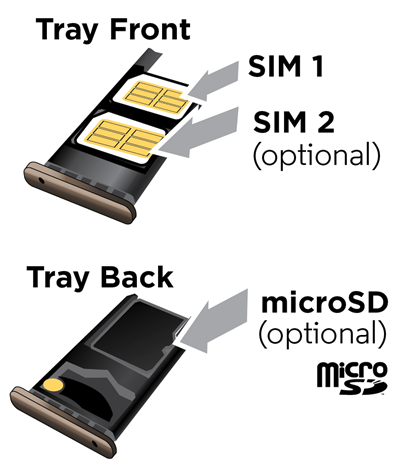
2. Put in the SIM card with the gold contacts facing up. Put in an optional microSD card on the tray’s back with the gold contacts facing down.
3. Push the tray back into your phone.
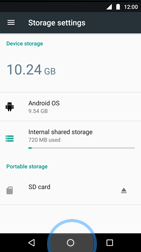
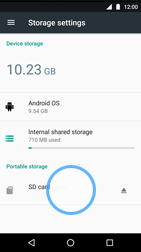
When you insert an SD card for the first time, you can choose to either use the card as Portable Storage or Internal Storage.
| Portable Storage | Internal Storage |
| Select this mode if you frequently swap your SD card between devices, use your SD card for media storage only. | Select this mode if you want to completely extend your device storage with the card, and need the card to store large applications, games, and their data. |
| You have a Class 2, 4, or 6 card. | You have a high-speed card (UHS-1) |
| If you frequently swap cards, use SD card to transfer content between devices and do not download many large app, we recommend configuring your card as “portable”. | If you want to store large games on the card, if your device storage is always filling up, and you plan to always keep this card in the device, we recommend keeping your card as internal. |
| Only pictures and media can be stored on the card.
Downloaded applications, their data, is always internal. They can not be moved to the card. The card is readable by other devices. (another phone, Mac, PC, digital camera) Content on the card is not encrypted by default. The card will NOT be reformatted when Portable storage is selected. |
The SD card can become your device primary storage. Downloaded applications, their data and media can be moved to the card. The card is not readable by other devices. (another phone, Mac, PC, digital camera) The card is always encrypted, and can not be decrypted on any other device. The card will be formatted when Portable storage is selected. |
Performance warning
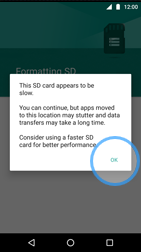
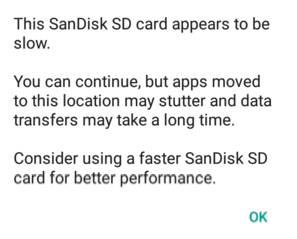
We recommend use of a high speed card, such as a UHS-1 type. Class 4 and Class 2 micro SD cards are not recommended for adopted internal storage usage. The performance of these cards is typically 10x slower than internal storage performance.
High speed card are identified by these logos:

If your card it too slow, your device will warn your during the adoption process. If you encounter this dialog, we advise to upgrade your card to a UHS-1 card first.
Using your card as “Portable Storage”
- Insert the SD card on your device
- Android will notify you a new SD Card has been detected, you can setup the card as portable or internal storage
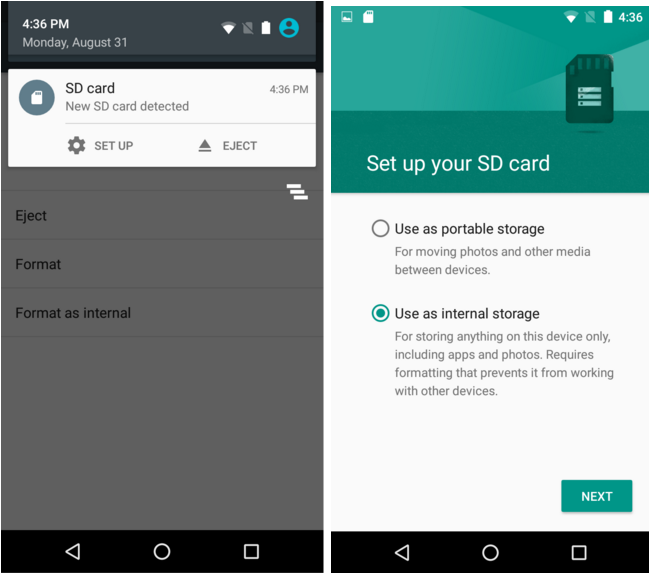
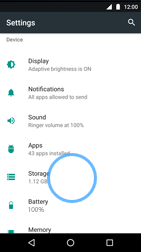
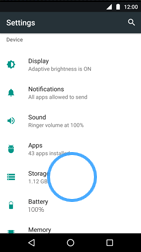
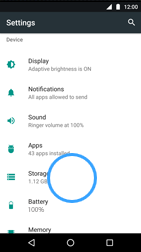
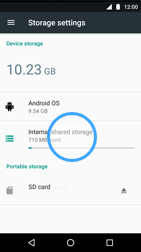
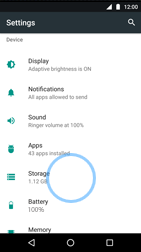
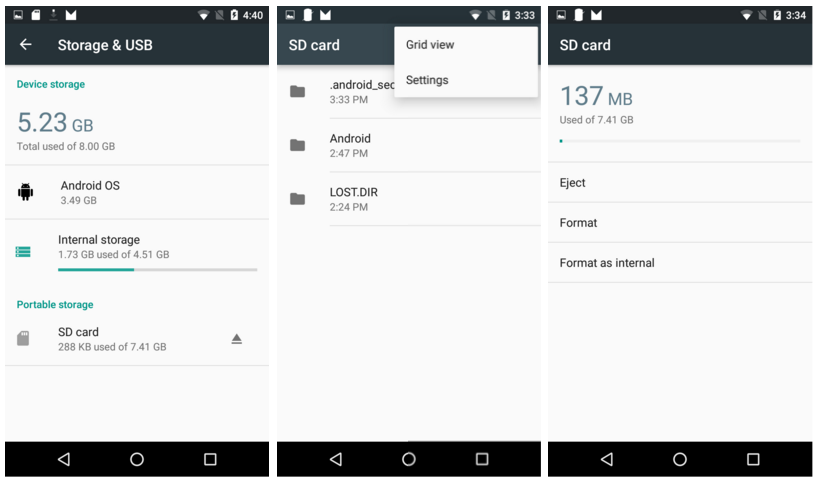
If you decide to defer this decision, the card will be used as portable storage by default. you can change this selection through Settings -> Storage at a later stage
Using your card as “Portable Storage”
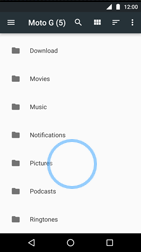
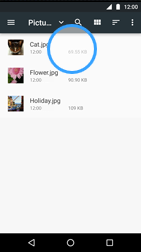
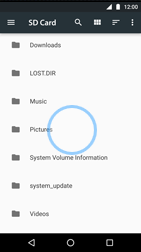
- Media, pictures, movies already on the card will be visible in the device photo gallery and media apps. New content side loaded to the card will also be available and viewable in media apps on the device
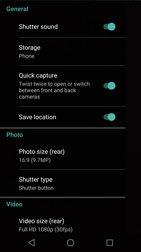
- Through the Motorola camera application settings, you can select the default storage for pictures and movies captured through the Motorola camera app. Third party camera might not offer this option.
- Some third party applications will enable you to store their content on the ‘portable’ SD card, as in lollipop; but only if the application developer chose to do so (Google Play Music)
- If you select a card as portable storage, you will NOT be able to move applications to the card, nor will play store automatically install applications to this card
Using your card as “Internal Storage”
- Insert the card in the device
- You should see a “Set Up SD card” Notification
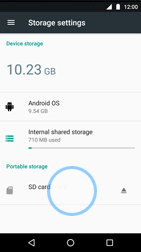
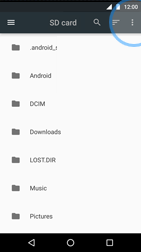
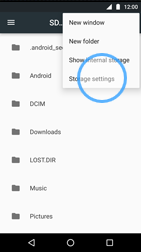
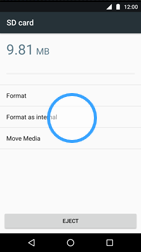
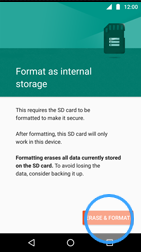
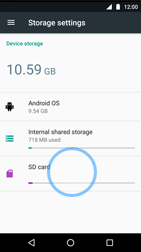
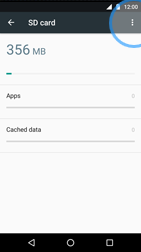
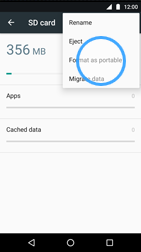
- Tap on ‘setup SD card’ in the insertion notification (or go to settings->storage->select card-> menu->format as internal)
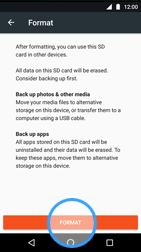
- Select the ‘internal storage’ option, after have carefully read the warning
- If you currently have applications installed on the card, your device will ask you to move these applications back to internal storage before formatting your card
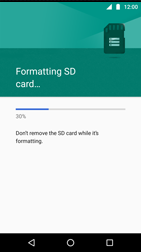
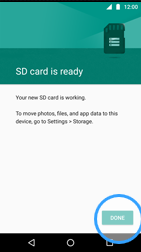
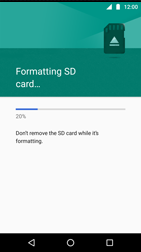
- Your card will be formatted and encrypted, and usable as device storage
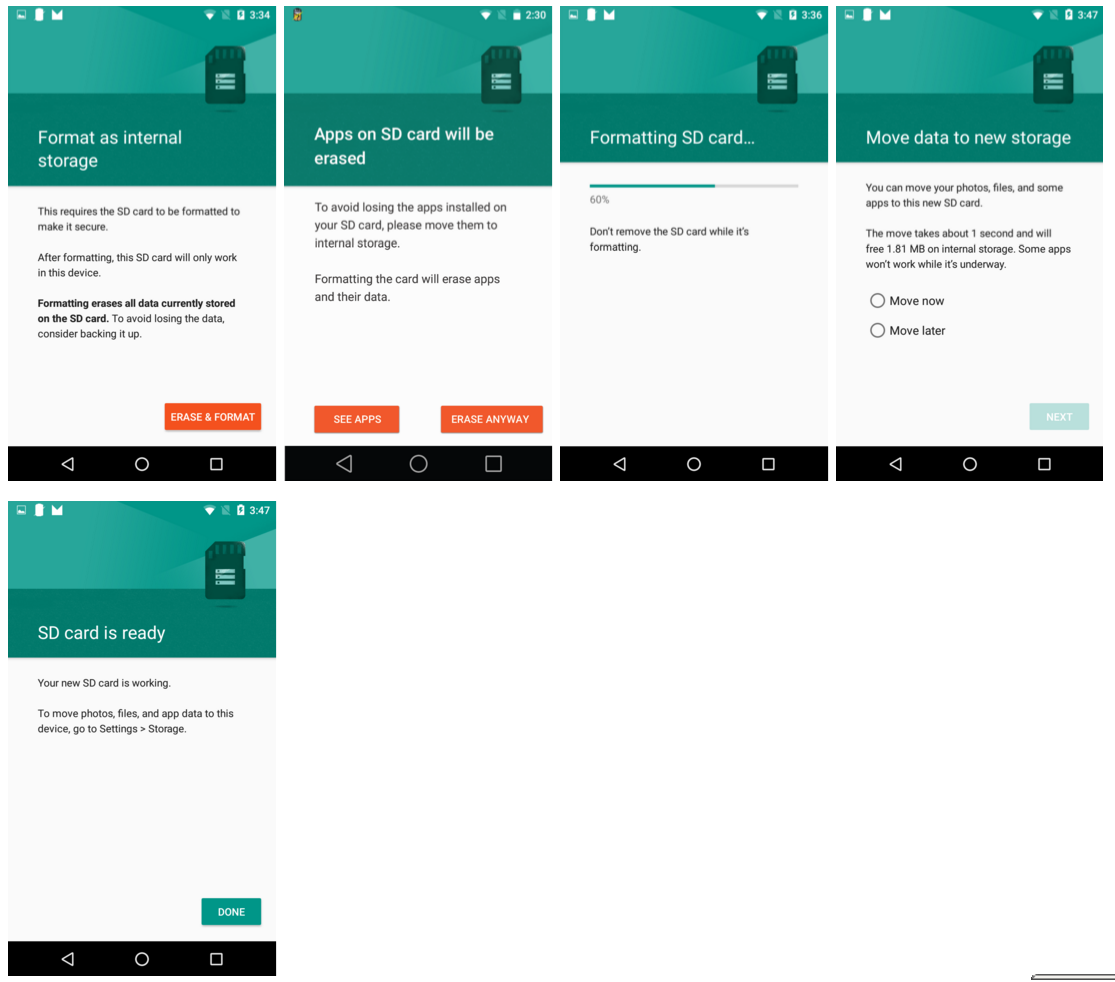
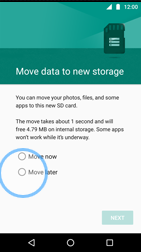
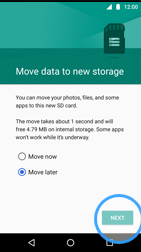
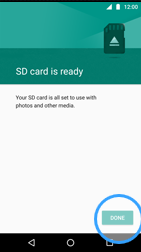
- Once the card has been formatted, you will be asked whether you want to migrate data currently on your device to the card. This step will move all media, pictures, and documents to the SD card.
- By selecting where to migrate content, you also select the preferred storage location for all applications, databases and data.
- If you decide to move that data to the card, the SD card will also become the preferred storage location for all applications content, data and database and media.
- If you decide to skip this step, your device internal storage will remain the preferred storage for all content.
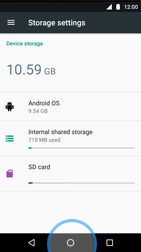
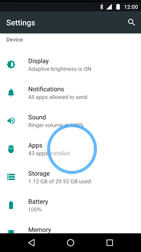
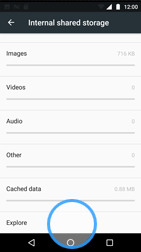
- Once a card has been formatted as internal storage, both your device internal storage and the card will show up as “device storage” under storage settings, and you will be able to move applications which were in internal storage to the card. Moving applications to the card can be done from application settings (Settings > Apps > select application > Change storage location)
- Once a card has been formatted as internal storage, Play Store will install applications on either storage volume automatically, based on a set of rules provided by the application developer (you will be able to move applications from one volume to another)
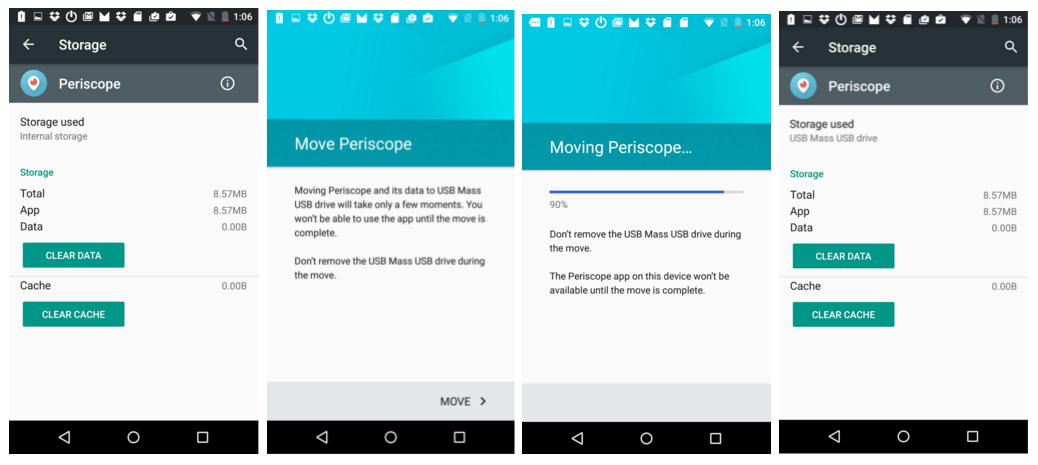
Applications will always store their content in the preferred storage location by default. You will not need to indicate in each application setting where to store content; for example
SD Card
Using external SD card as internal storage
Using external SD card as portable storage
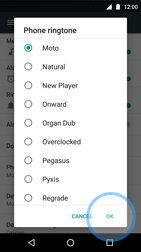
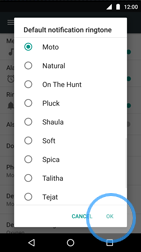
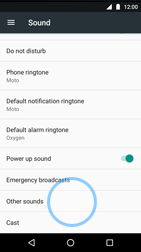
Ringtone
Ringtone Settings
Reset
Soft reset
External reset
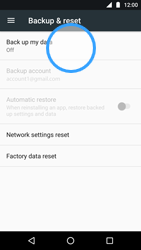
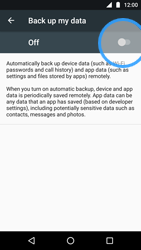
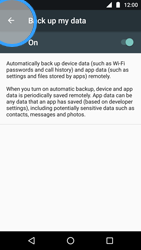
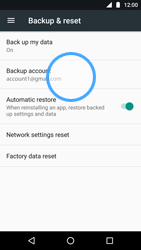
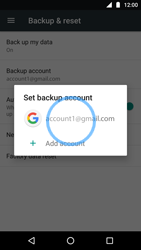
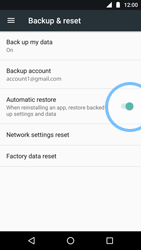
Create a backup of your data
Network
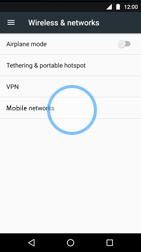
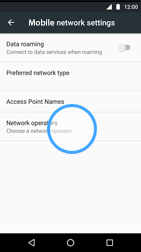
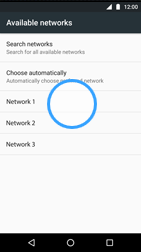
Manually select a network
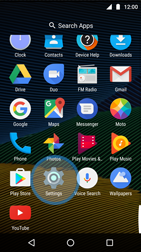
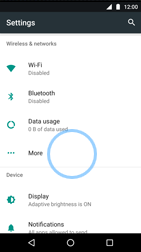
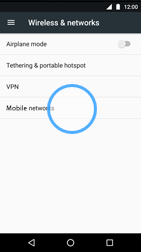
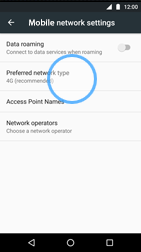
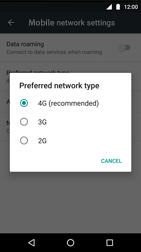
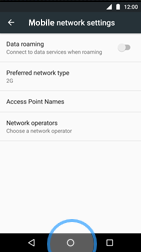
Change network mode
Wi-Fi
Connect to a Wi-Fi network
Internet
Browse the internet
Camera
Using the camera
Calls
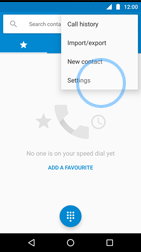
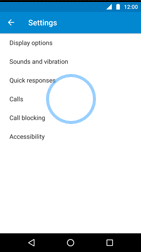
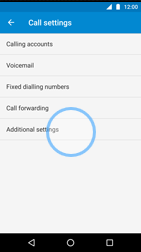
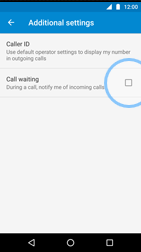
Enable call waiting
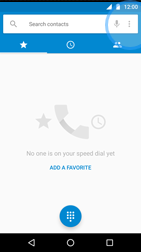
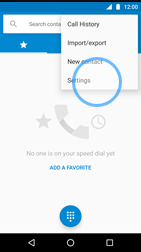
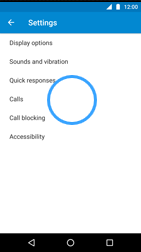
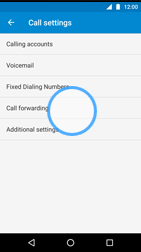
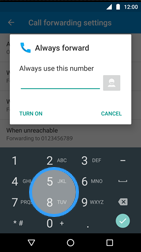
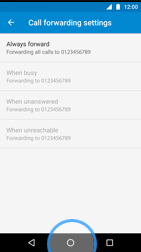
Enable call forwarding
Bluetooth
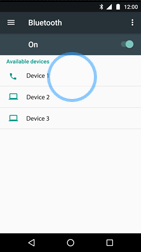
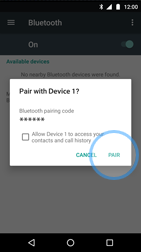
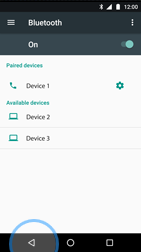
Pairing using Bluetooth
Data
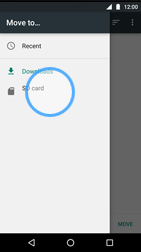
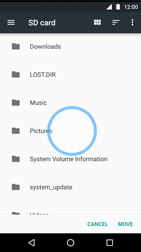
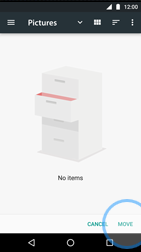
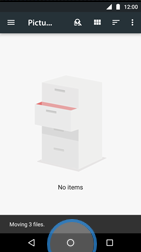
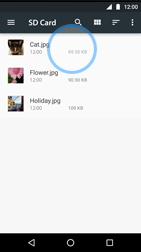
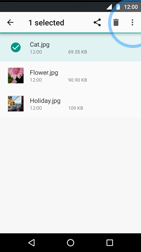
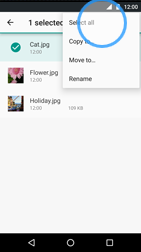
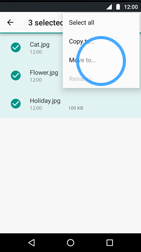
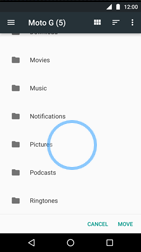
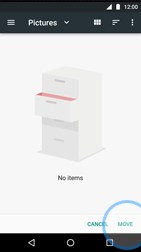
Transfer data from the device to the SD card
Transfer data from the SD card to the device
Transfer data from phone to computer (PC)
Transfer data from phone to computer (Mac)
Device
Insert or remove the SIM card – Moto G5 Plus
1. With the phone facing down, insert the SIM tool into the tray hole to pop out the tray.
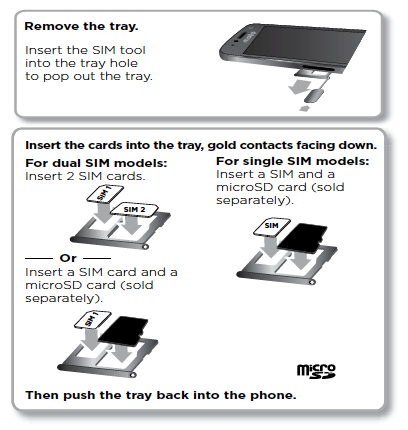
2. Put in the SIM card with the gold contacts facing up. Put in an optional microSD card on the tray’s back.
3. Push the tray back into your phone.
General
Icon notifications
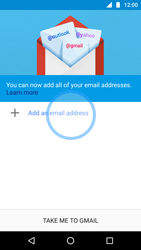
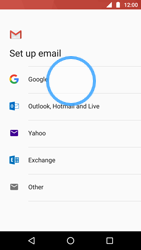
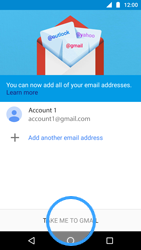
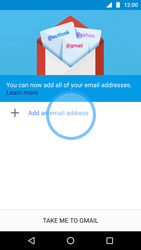
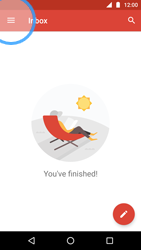
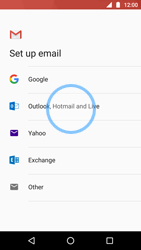
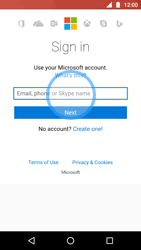
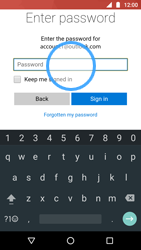
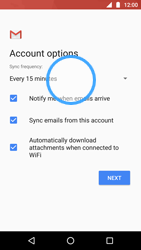
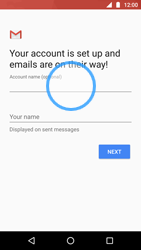
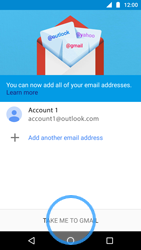
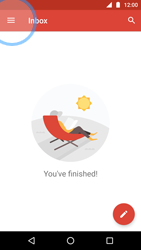
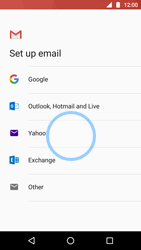
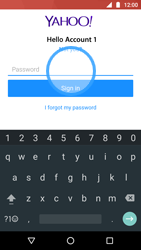
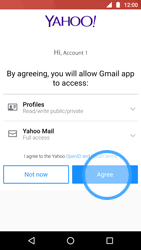
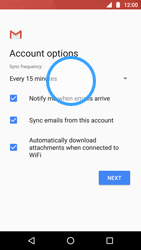
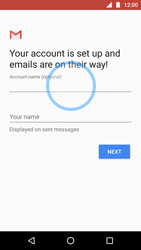
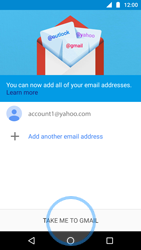
Setup email
Choose your email provider
– Gmail
– Outlook.com
– Yahoo!
Gmail
Outlook
Yahoo
Applications
How to download
Change app update settings
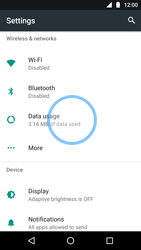
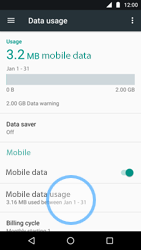
Check data usage per app
Get support by phone, chat, email or through video communication.
Our Support Team is available Monday - Saturday from 10AM to 7PM ET.
Live Chat
Initiate chat1934 Old Gallows Rd. Suite 350
Tysons Corner, VA 22182
